
I’m Dave Weatherford, owner and estimator at Proper Painters, and I’ve been in the painting business since 2022, completing 225+ projects along the way. I enjoy sharing the practical lessons I’ve picked up on real jobs, from prep work to the finishing touches, in a way that’s fun, straightforward, and actually useful for homeowners.
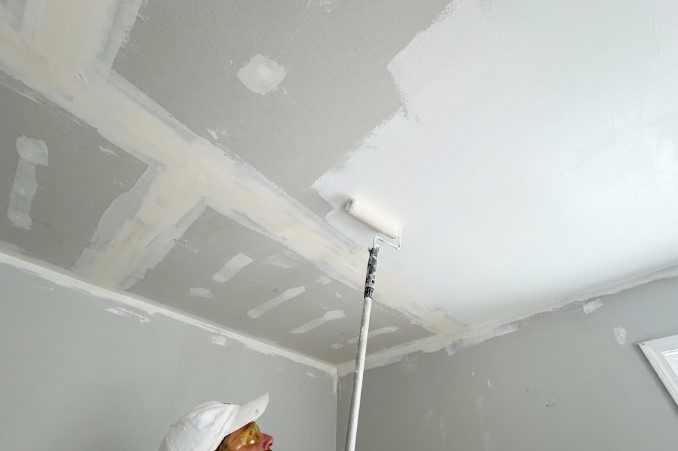
Caulking before or after painting? Before. The caulk fills the gap, and the paint goes over it and hides it, so the joint looks like one clean line and the caulk is shielded from the weather. If the wood is bare or new, it gets primer first, then caulk, then paint.
Knowing when to caulk is the easy half. Knowing where is what separates a paint job that lasts from one that rots trim from the inside.
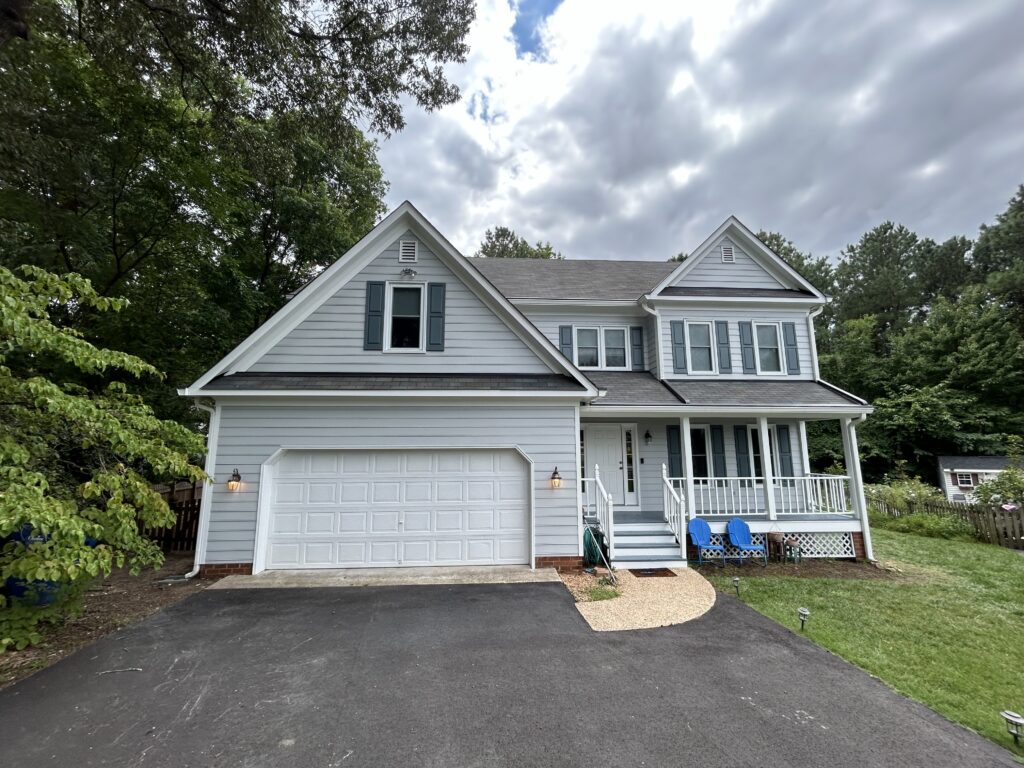
So instead of another list of caulk types, I’ll walk you around a typical Richmond house, outside and then in, the way our crews do on every exterior painting estimate: where we caulk, where we deliberately don’t, and where caulk is the wrong fix entirely.
How We Sequence It: Primer, Caulk, Paint
On a repaint, caulking before or after painting comes down to one test: will the caulk end up under the paint or on top of it? Under is what you want.
A bead left exposed on top of fresh paint weathers faster, picks up grime and stands out as a different sheen.
New or bare wood adds a step at the front. Raw lumber is thirsty, and in a humid Richmond summer it’s already holding moisture. Caulk on raw wood gets less to hold onto, and the bond suffers. A coat of primer seals the wood and gives the caulk a surface it can grip, which is why replacement boards and repaired trim always go primer, caulk, paint, in that order.
Walking a Richmond House: Where We Caulk Outside
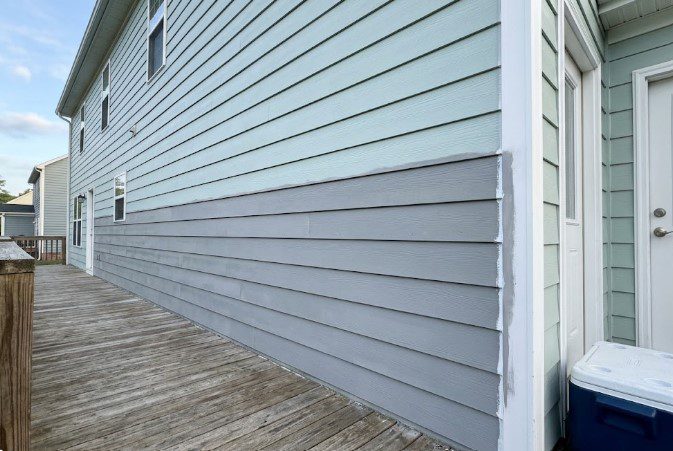
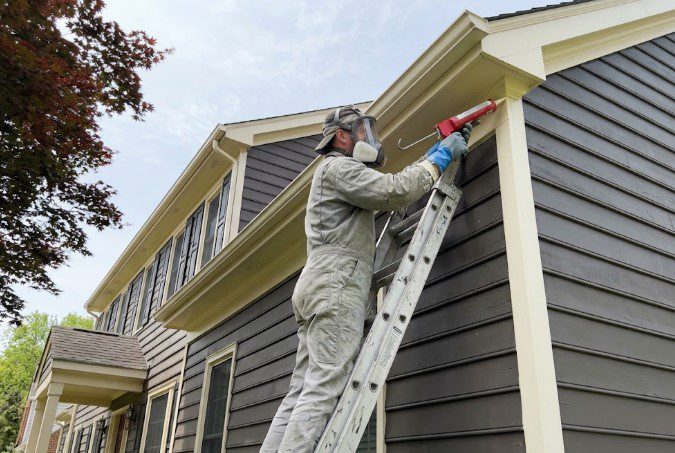
Starting at the front door and working around, these joints get a bead on almost every house we paint:
- Window and door casings, where the trim meets the siding or brick on all sides except the bottom of the window.
- Corner boards, along both long edges where they butt into the siding.
- Frieze boards and fascia, at the miters and wherever two lengths of trim meet end to end.
- Butt joints in trim and siding, where boards meet in the middle of a run.
- Penetrations, like hose bibs, light fixtures and vents.
Where We Leave It Open
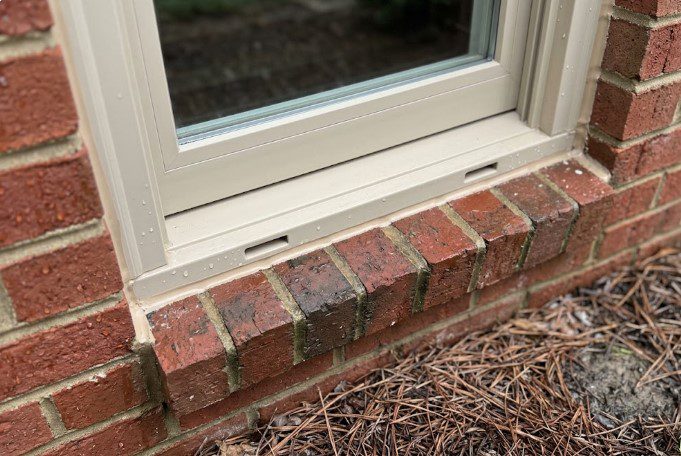
If you’re wondering what not to caulk on a house exterior, think about where water needs to escape. A house isn’t meant to be airtight on the outside. Siding and windows are built to shed the water that gets past them, and every one of these openings is part of that plan:
- The underside of each siding course. Run caulk along the overlap, and you build a little dam behind every board.
- Weep slots in window frames. Those small slots along the bottom of the frame drain the track. Seal them, and the water backs up inside.
- Brick weep holes. On Richmond’s many brick homes, the open joints near the bottom of a brick wall let moisture out of the cavity behind it.
- The bottom edge of window and door head flashing. The metal lip above a window is there to kick water outward, so it stays open.
Inside: How We Handle Trim and Plaster
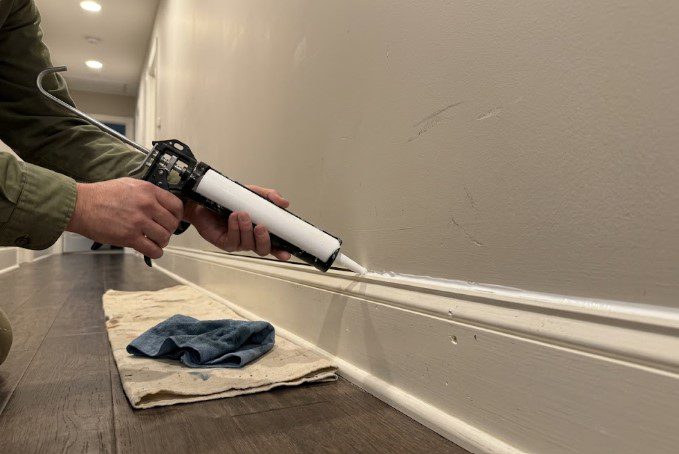
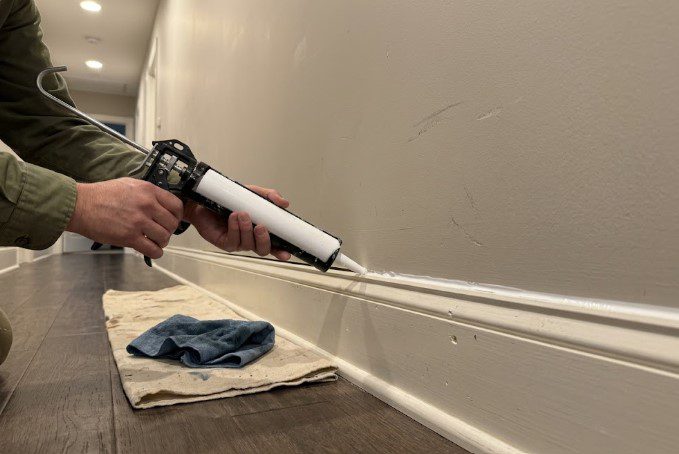
Should you caulk before painting trim? Yes. Every gap between trim and wall gets caulked first, so the finish coat runs straight across it and the line between the two disappears. Inside, that means:
- the top edge of baseboards, where they meet the wall;
- crown molding along both the wall and ceiling edges;
- door and window casings, inside and out;
- miters and joints in the trim itself.
Older Richmond homes add a catch. Plaster walls in the Fan or a 1960s rancher crack differently than drywall, and caulk isn’t the fix for those cracks.
A bead of caulk across a plaster crack stays rubbery, won’t sand, and shows through the paint as a soft ridge. Plaster cracks get patched with a setting compound instead.
When Caulk Isn’t the Fix
Caulk seals sound joints. It can’t save one that has already failed.
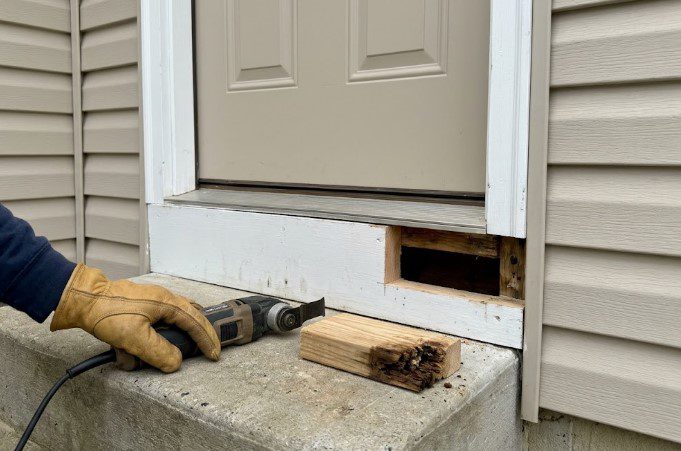
Rotted trim. If a screwdriver sinks into the wood, caulking over it just seals moisture in. The soft section gets cut out and replaced, then primed, caulked and painted.
Gaps wider than a pencil. A deep, wide gap needs a foam backer rod pushed in first, or a wood repair, so the caulk forms a thin, flexible bead instead of a thick plug that cracks.
Old caulk that’s cracked or pulling away. New caulk over old won’t bond. It has to be cut out first.
Why Caulk Cracks After Painting in Richmond
Richmond is hard on caulk joints. Wood swells through a sticky July and shrinks back in a dry, heated January, and exterior joints go through freeze-thaw cycles all winter. A joint that opens and closes a little every season needs a caulk that can stretch with it. A cheap, stiff acrylic splits along the middle the first winter, and the paint over it splits right along with it.
Paint over caulk that hasn’t reached its paint-ready time, and the bead keeps shrinking under the paint film until it wrinkles or cracks. Fill a deep gap with one fat bead, and the outside cures while the inside is still soft and pulling away.
Humidity slows all of this down here, the same way it slows how fast exterior paint dries on a muggy Richmond afternoon.
FAQ: Questions We Hear About Caulk
Can you paint over silicone caulk?
Not pure silicone. Paint slides right off it, so it has to be removed completely before paintable caulk goes in. A tube labeled “siliconized acrylic” is a different product, and that one takes paint well.
Do painters caulk as part of the job?
The good ones do, inside and out, because open joints show through the finish and let water behind the trim. On our jobs, caulking is part of the prep in every proposal, and we’ll point out joints that need more than caulk during the estimate.
Let Us Walk Your House With You
The best time to sort out which joints need caulk, which need new wood and which should stay open is before anyone picks up a brush. Ask for a free estimate, and we’ll walk the house with you and put the plan in writing, backed by our Results Guarantee and warranty.